01 / LEARN
Tutorial
A safe space to learn the controls and practice before combat.
- Attack & defense
- Stamina
- Potions
- Target lock
Level design · Solo project
Learn the combat. Earn your power. Dominate the battlefield.
The premise
A solo action RPG level about learning combat and earning stronger equipment.
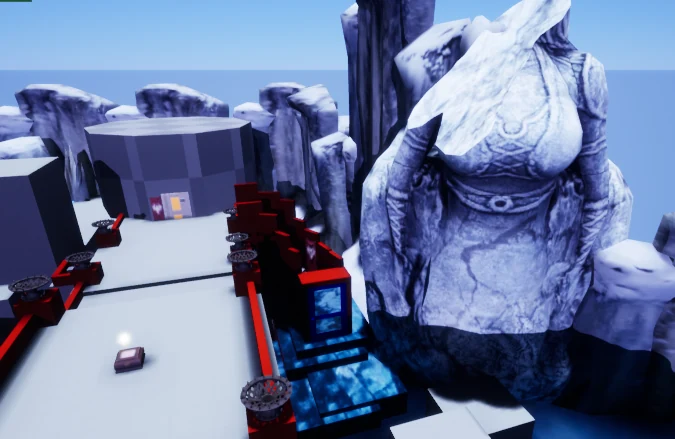
Gameplay video
Original Bridge of Eternal Winter gameplay capture. The case study below describes the mechanics and design decisions shown in the capture.
01 / Level Pacing
A safe space to learn the controls and practice before combat.
Focused encounters connect combat practice with a two-part puzzle.
Stronger equipment lets the player take on elites and larger groups.
Pacing / Intended player interest
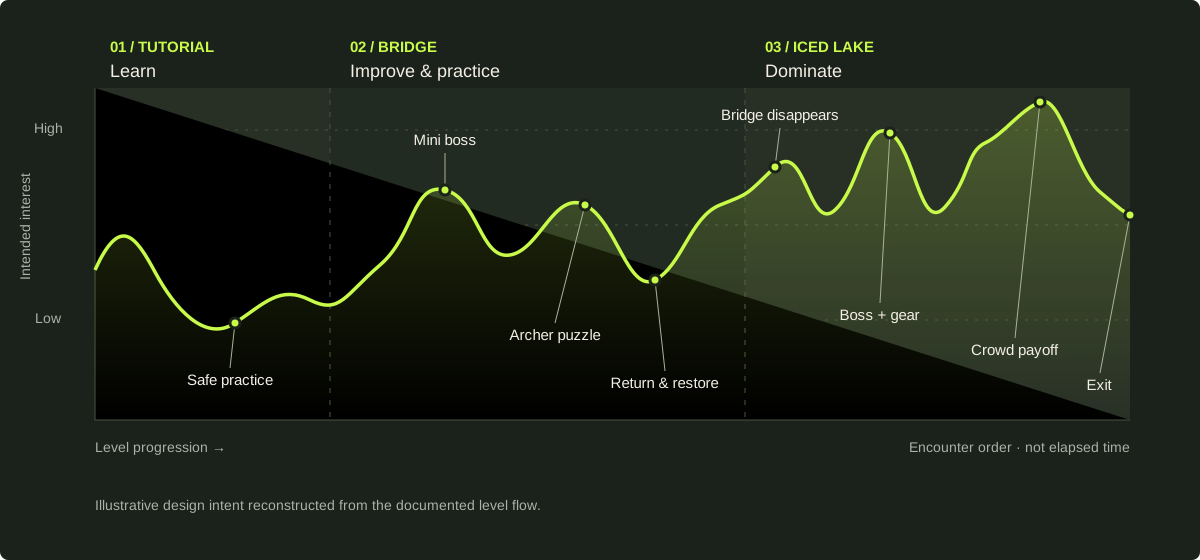
The setting invites curiosity. Safe practice lowers pressure and prepares the player for the first combat challenge.
The mini boss and archer puzzle create different peaks. Returning to the temple gives a pause before restoring the core.
The missing bridge renews curiosity. Boss and armor rewards build toward a crowd encounter that showcases the player’s power, then the exit resolves the journey.
Design interpretation using Jesse Schell’s interest-curve lens · The Art of Game Design
02 / Tutorial
Controls on the wall and a low-pressure training dummy prepare new players for the challenges ahead.
The tutorial introduces the key controls and lets players practice freely against a dummy that deals little damage.
Selected controls redrawn from the original project’s keybinding reference.
03 / Bridge
The temple’s power core anchors a sequence of combat and puzzle challenges.
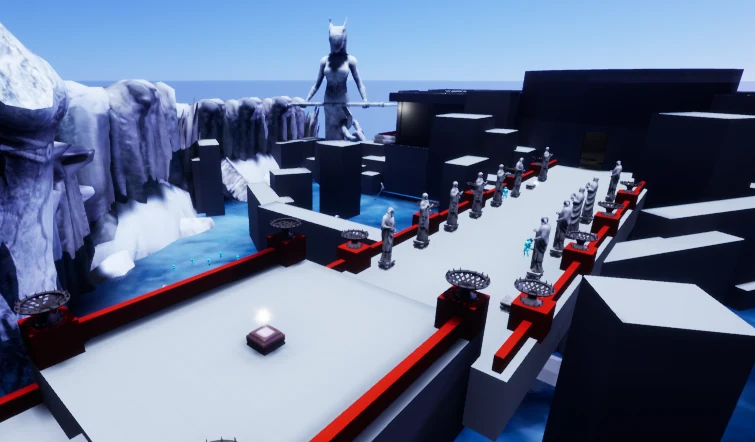
Redrawn progression schematic from the original walkthrough; this shows encounter order and dependencies, rather than an exact floor plan.
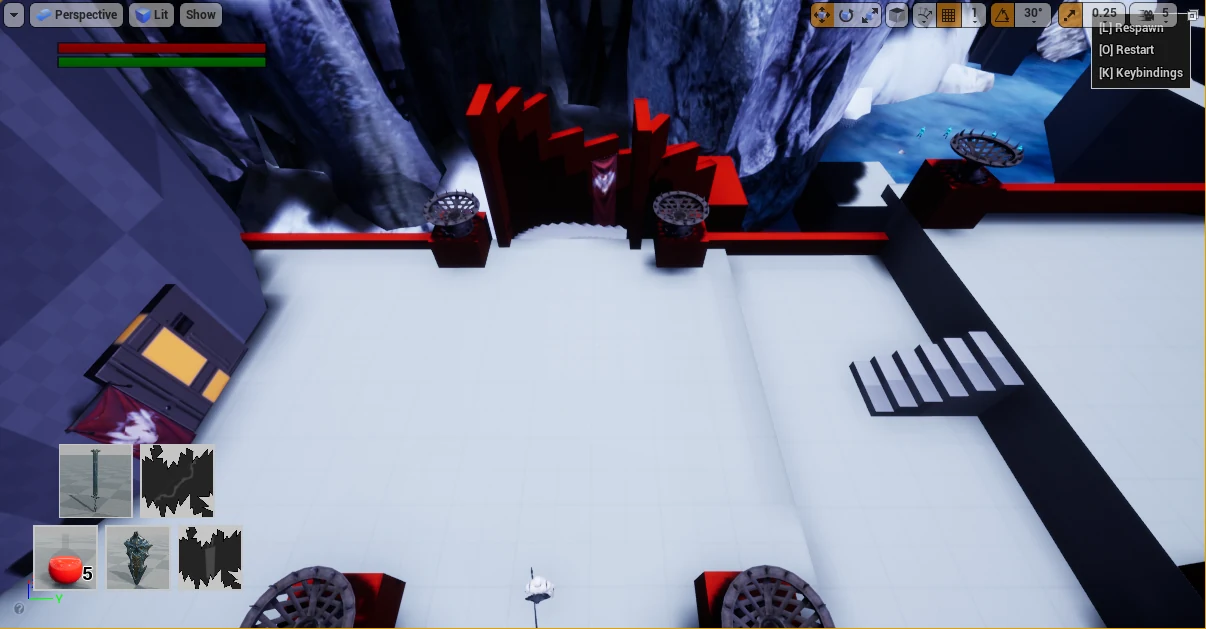
At the bridge entrance, the player sees three possible directions. The right-hand route and the path down are not yet accessible, leaving the bridge as the way forward.
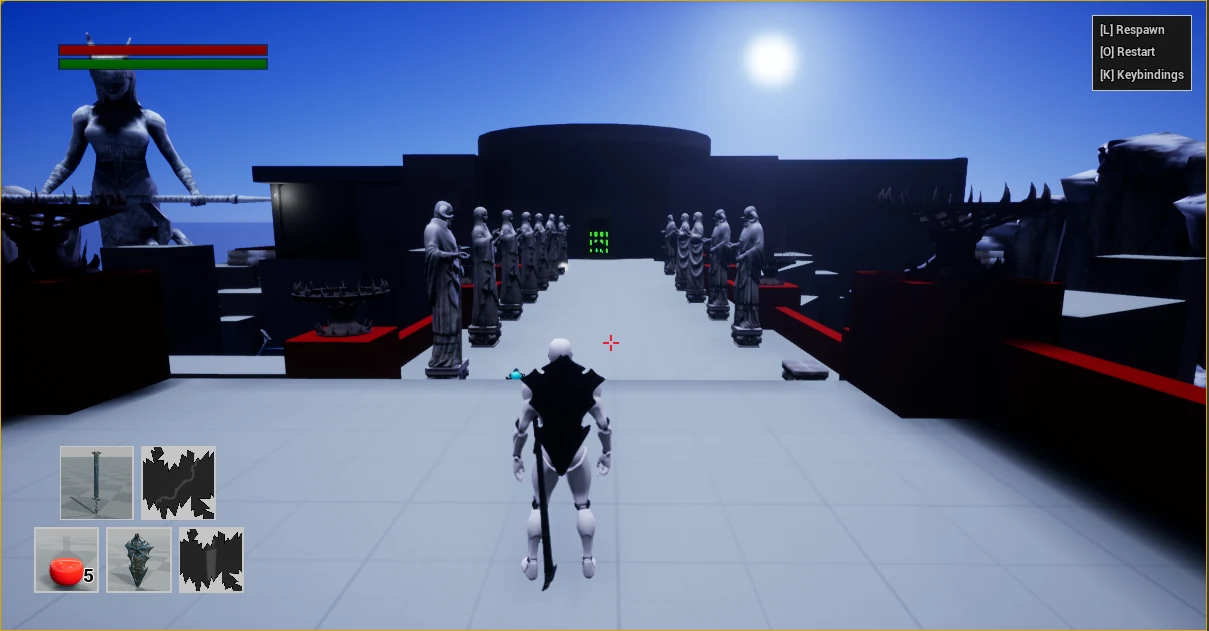
Crossing the bridge brings the temple and its power core into view. The visible core gives the player a destination to investigate before they can continue.
Inside the temple, the core is enclosed in a cage. Two Powerblocks are needed to release it; the revised room adds a path and a written clue to communicate that requirement.
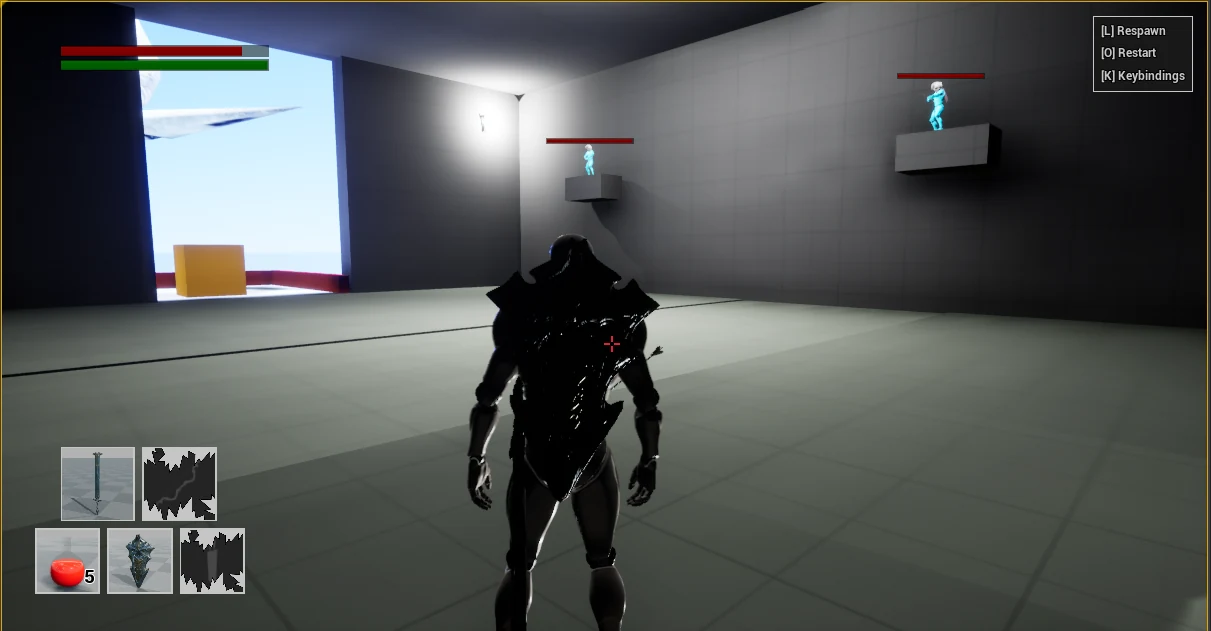
The mini-boss encounter rewards the player with the first Powerblock.
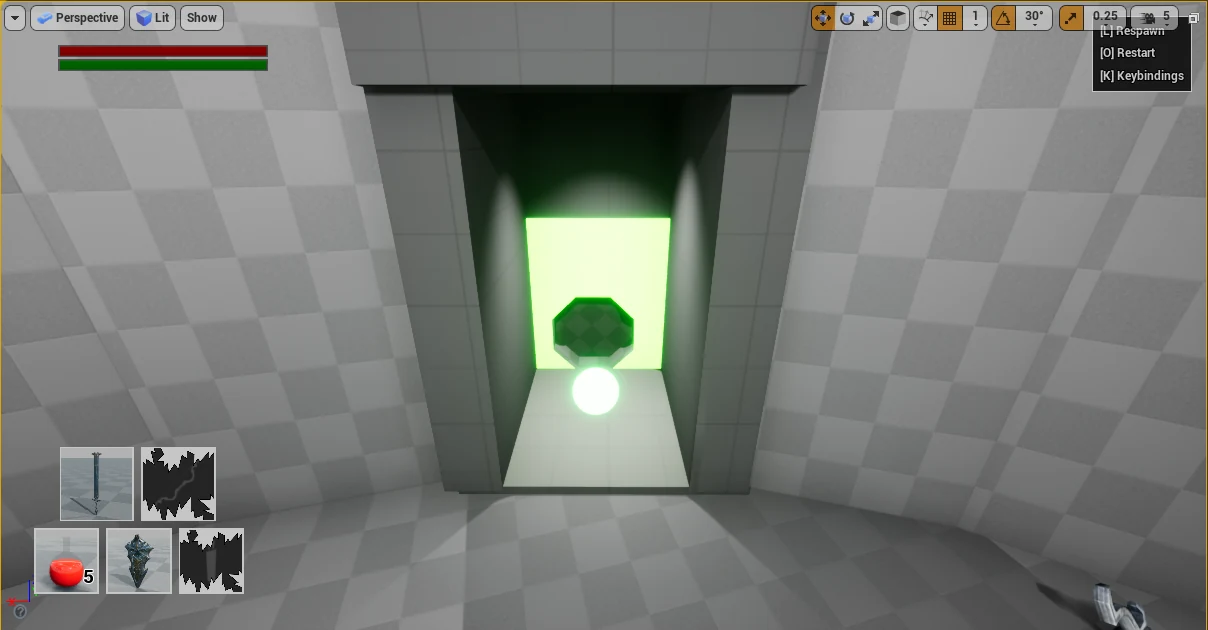
The archer puzzle provides the second Powerblock. Both blocks are required to open the temple’s cage.
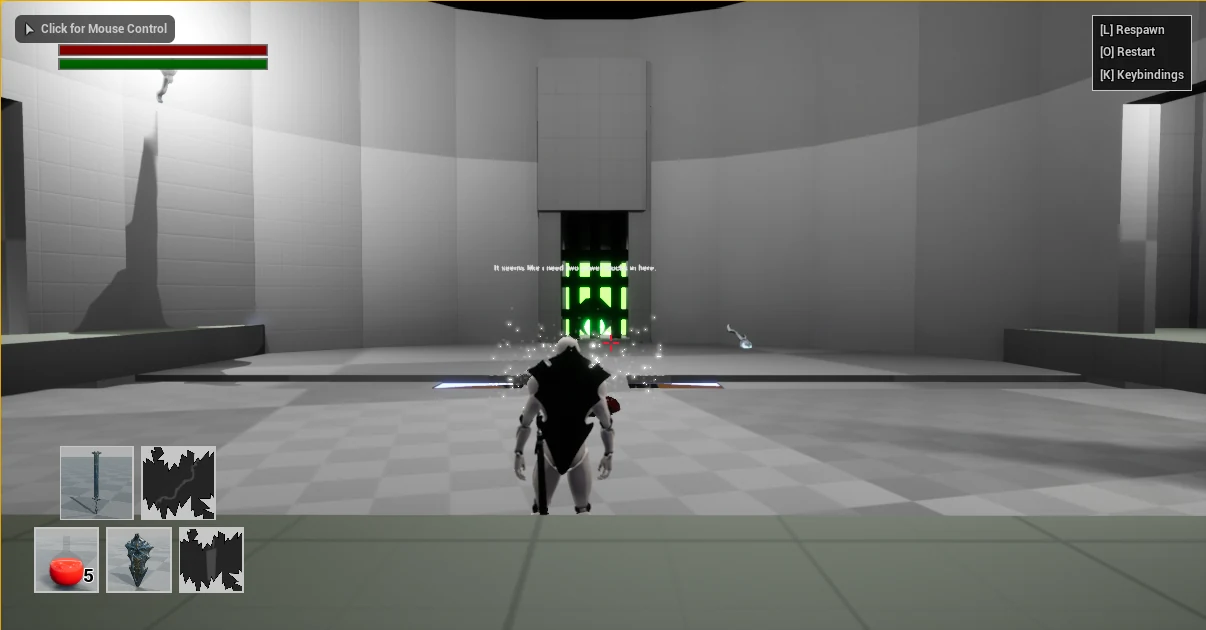
With both blocks in place, the cage opens. The player pushes the power core back into position to restore power and progress into the next part of the level.
The bridge section combines combat practice, pickups, a puzzle, and an upgrade. With new equipment acquired, the player continues toward the lower area and its larger encounters.
04 / Iced lake
A changed route sends the player below the bridge, where stronger equipment makes larger encounters manageable.
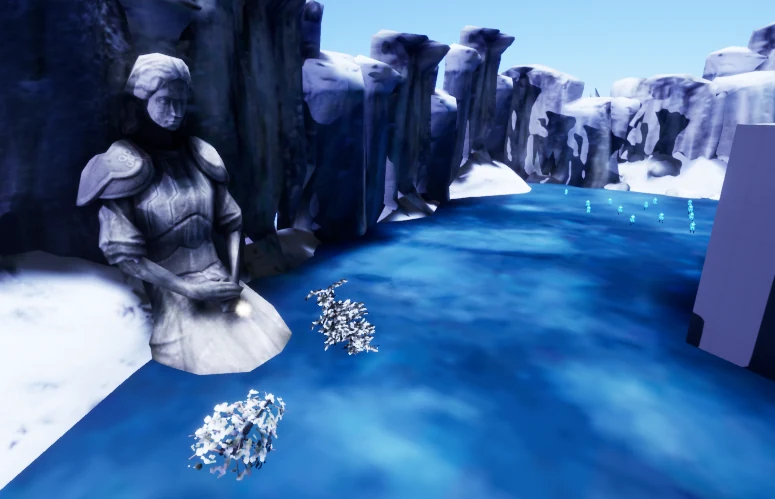
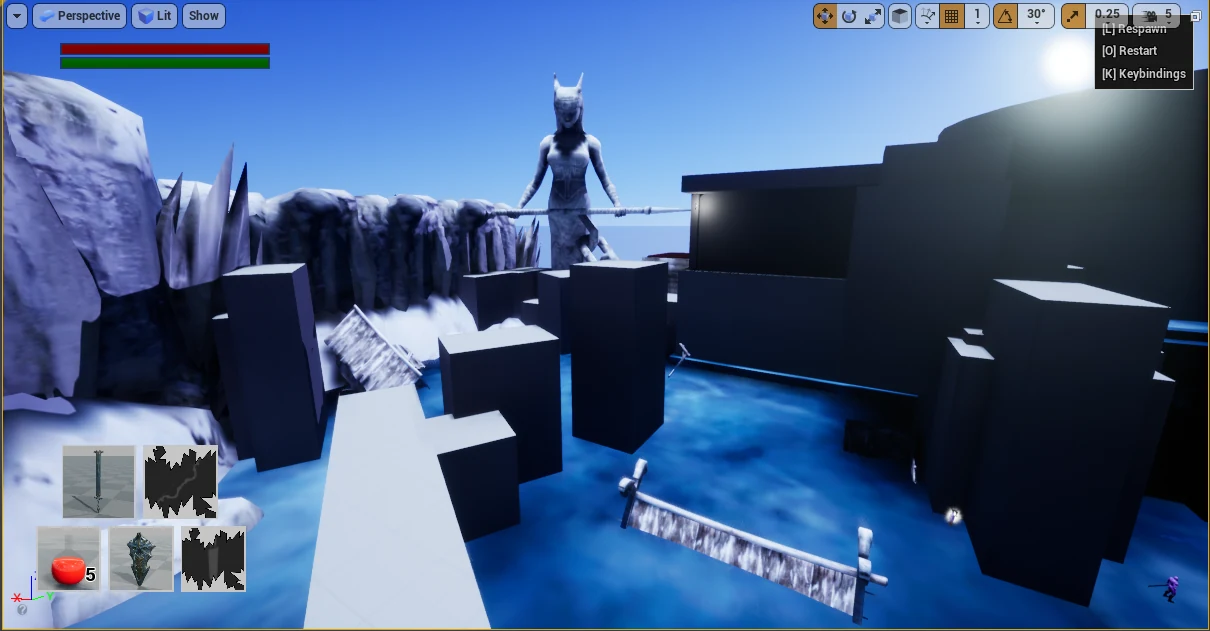
After restoring power, the player turns around and finds the bridge gone. The former route is no longer available, directing the journey down toward the frozen lake.
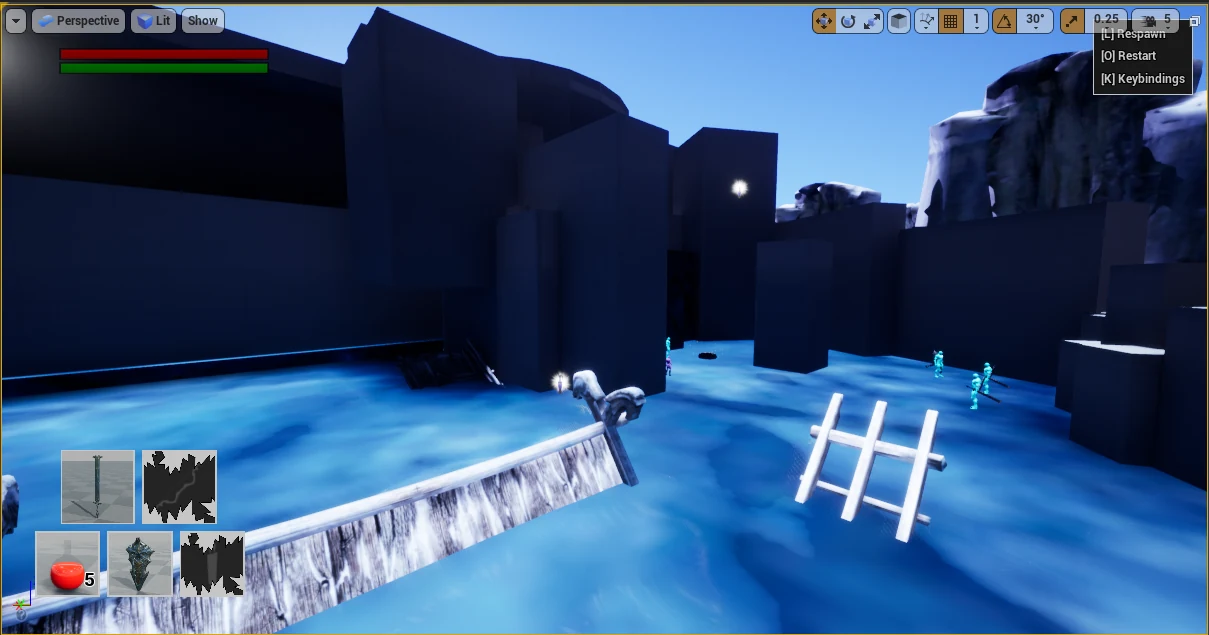
The player drops to the lower area and fights more enemies. This transition opens the lake as a new combat space below the bridge.
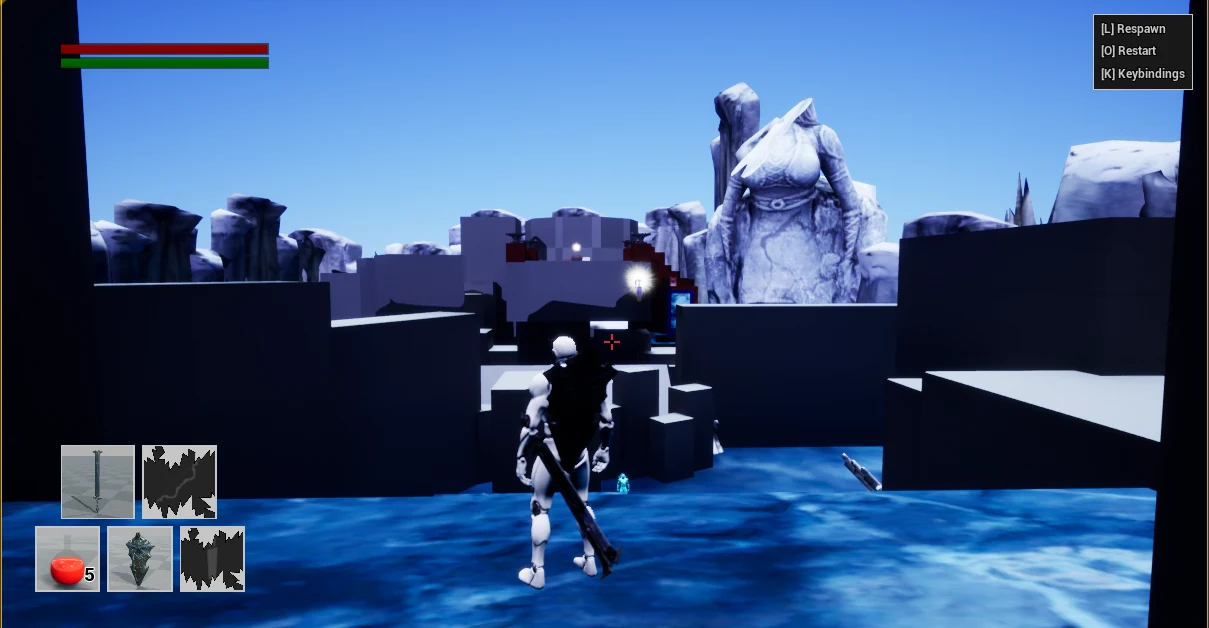
A boss encounter rewards the player with powerful gear. The following minions give the player an opportunity to use the new equipment and experience the change in combat power.
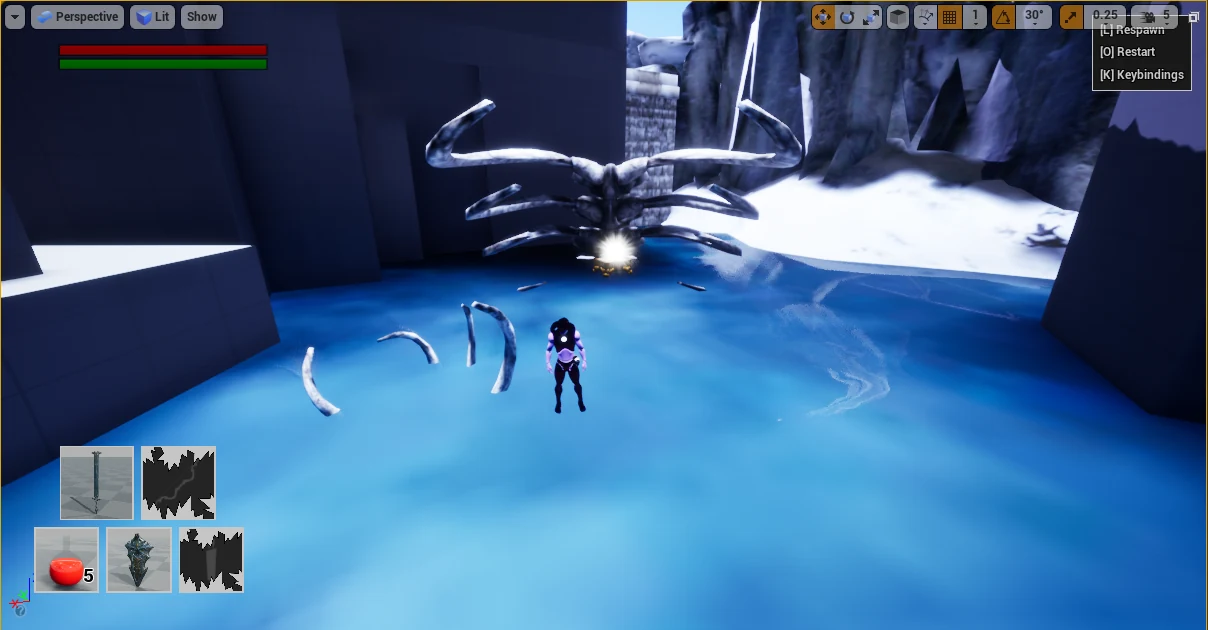
An elite enemy provides a further challenge and rewards the player with a piece of stronger armor. Both equipment rewards support the intended rise in player power.
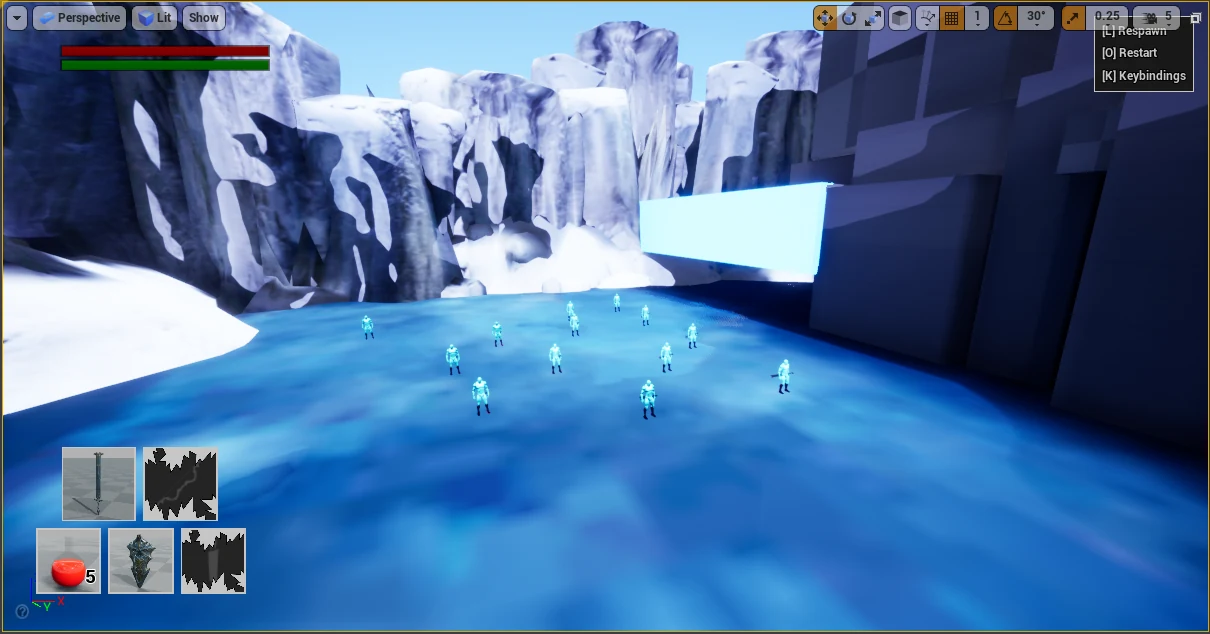
A large wave of minions puts the new gear to work. The original walkthrough describes this encounter as easier with the powerful equipment now in hand.
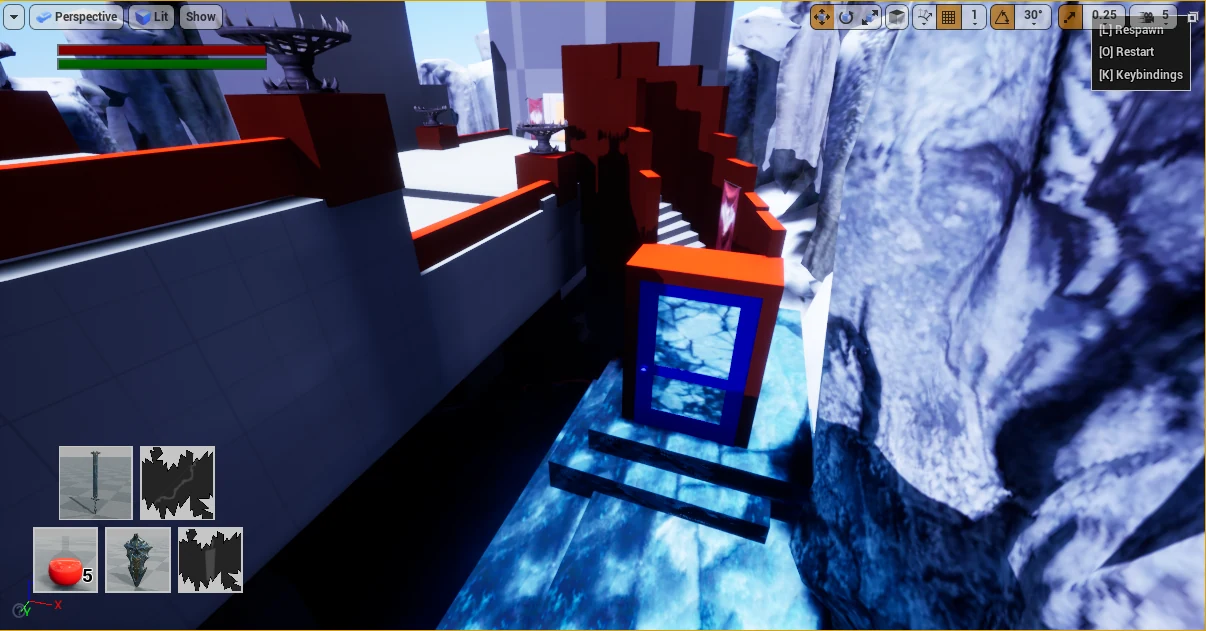
Enter the door that was previously locked and follow the route back to the bridge.
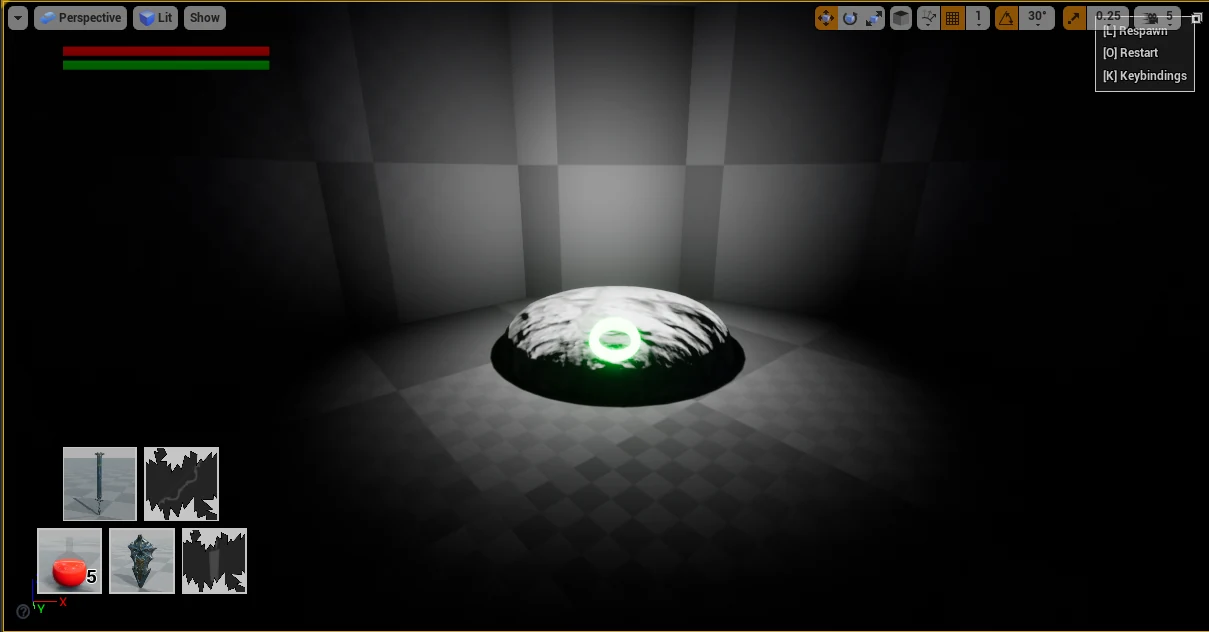
The teleporter marks the end of the route and completes the level.
05 / Playtest & iterations
Tested with about five Dark Souls fans through feedback and observed playthroughs.
The revisions address early difficulty, puzzle guidance, pickup visibility, controls, and lighting.
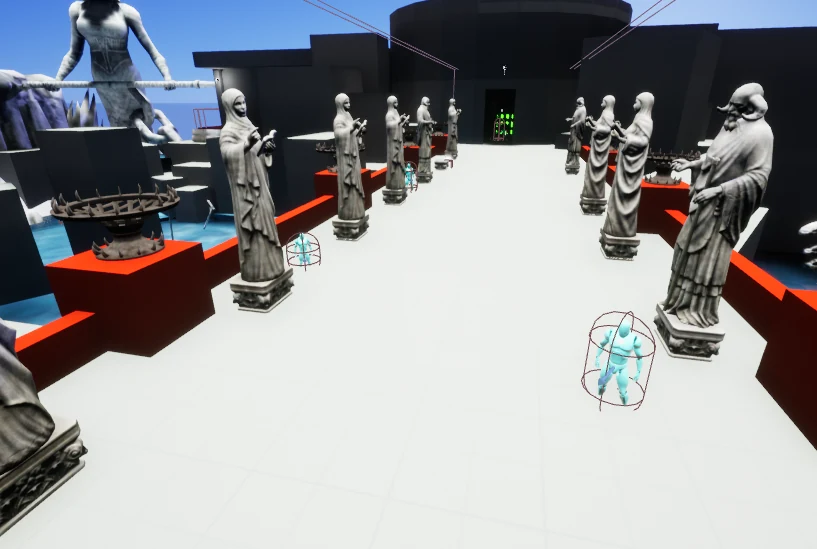
Before Two enemies overwhelmed new players before they understood the combat.
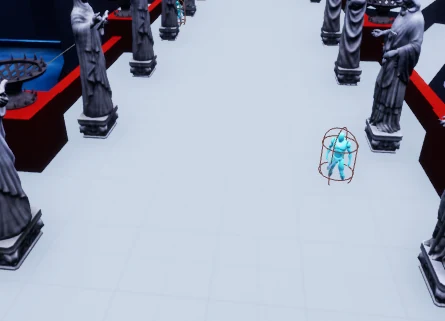
After Removed one enemy and weakened the remaining enemy, preserving a manageable challenge.
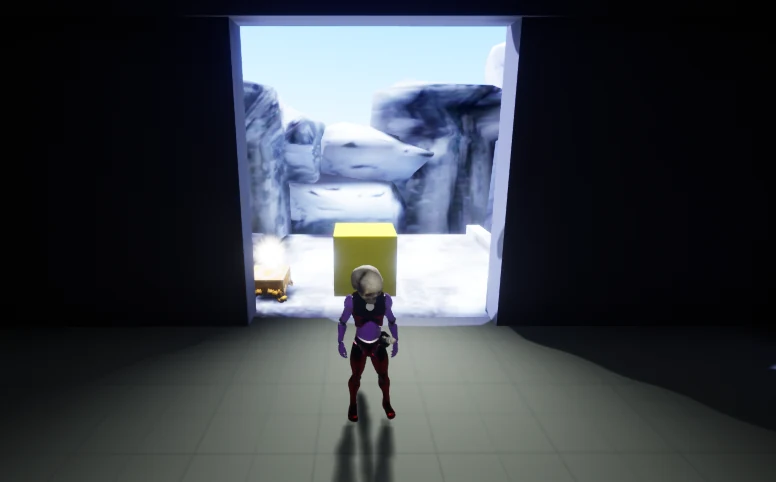
Before The level began without a tutorial, making the first combat encounter difficult.
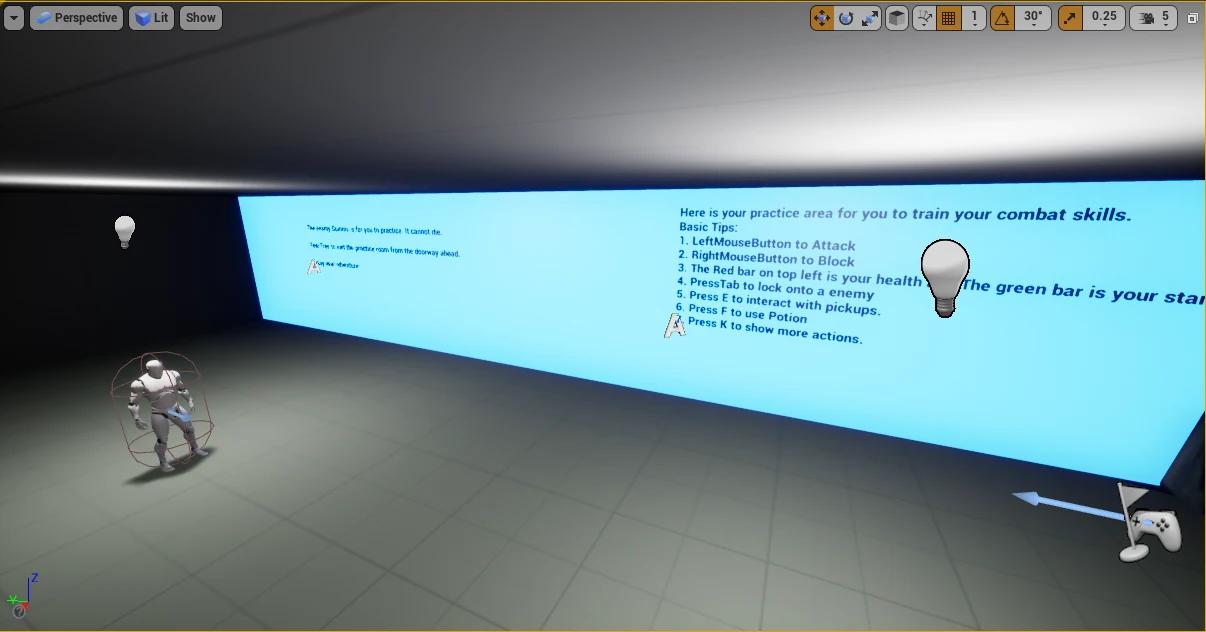
After Added a tutorial section with visible controls and a low-damage training dummy.
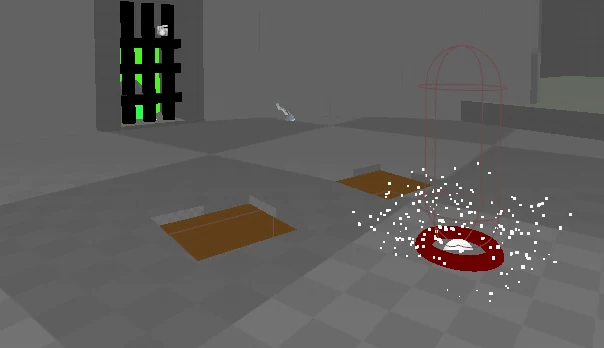
Before Two dark openings gave players little information about what they needed to find.
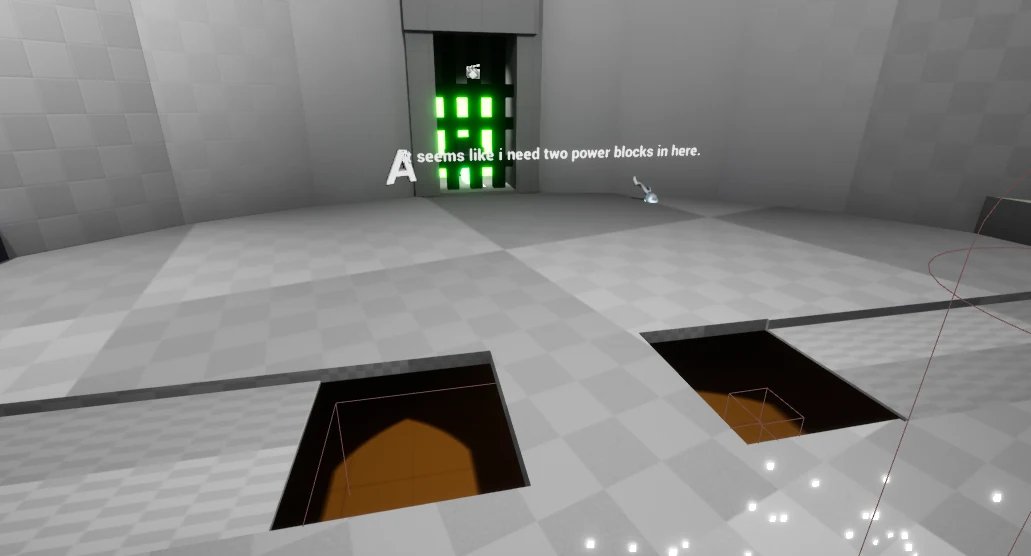
After Added a guiding path and a message explaining that two Powerblocks were required.
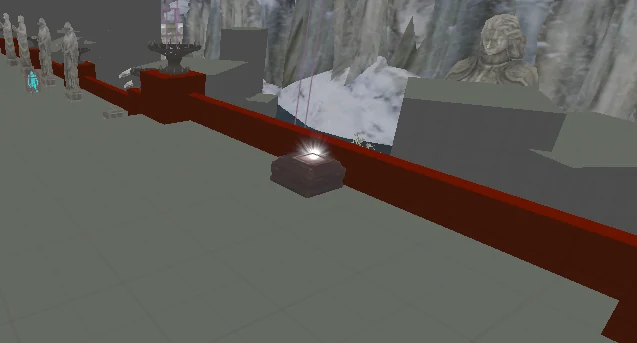
Before A pickup positioned at the side was missed by most testers.
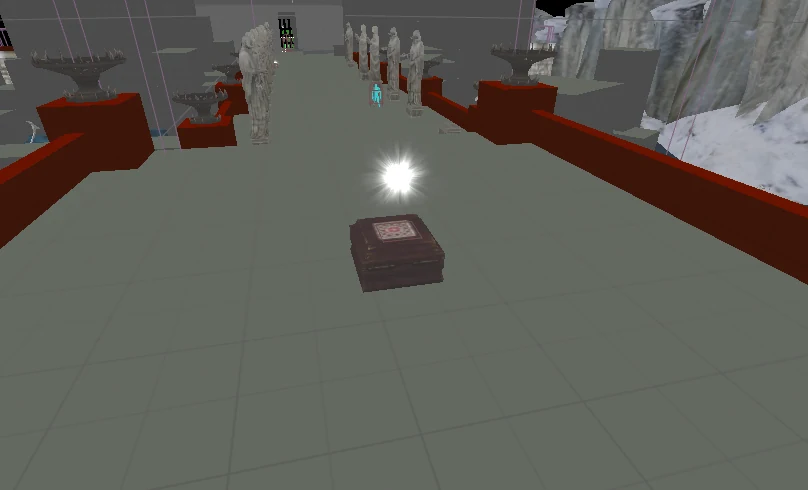
After Moved the pickup into the middle of the route so players could notice it more easily.
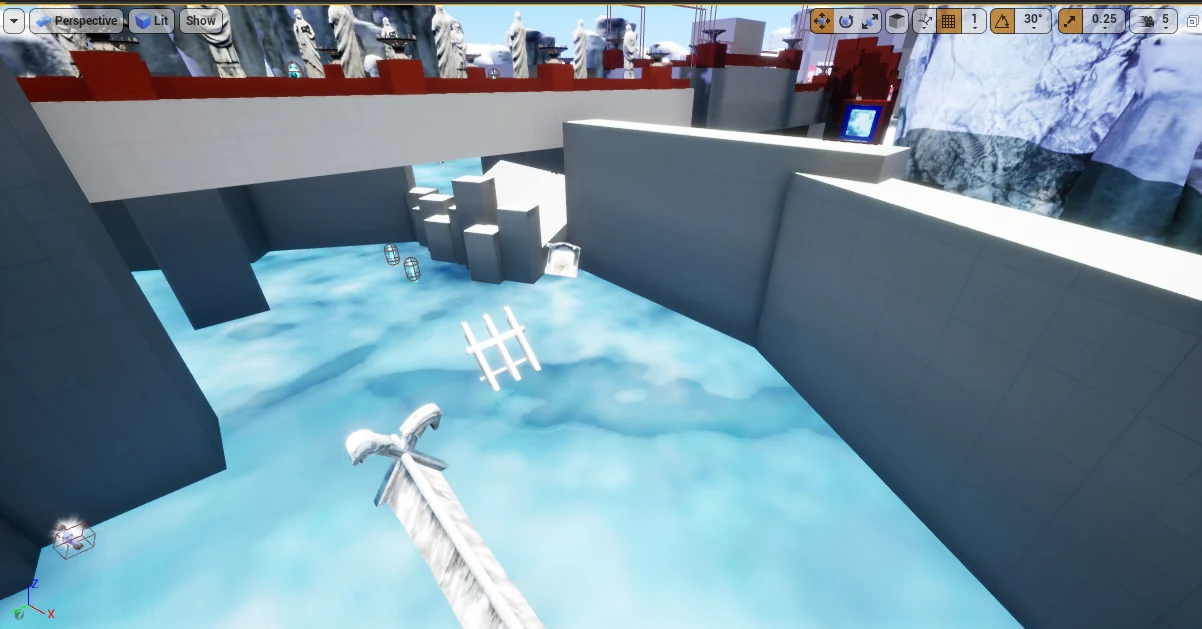
Before Bright reflections made some areas uncomfortable and difficult to read.
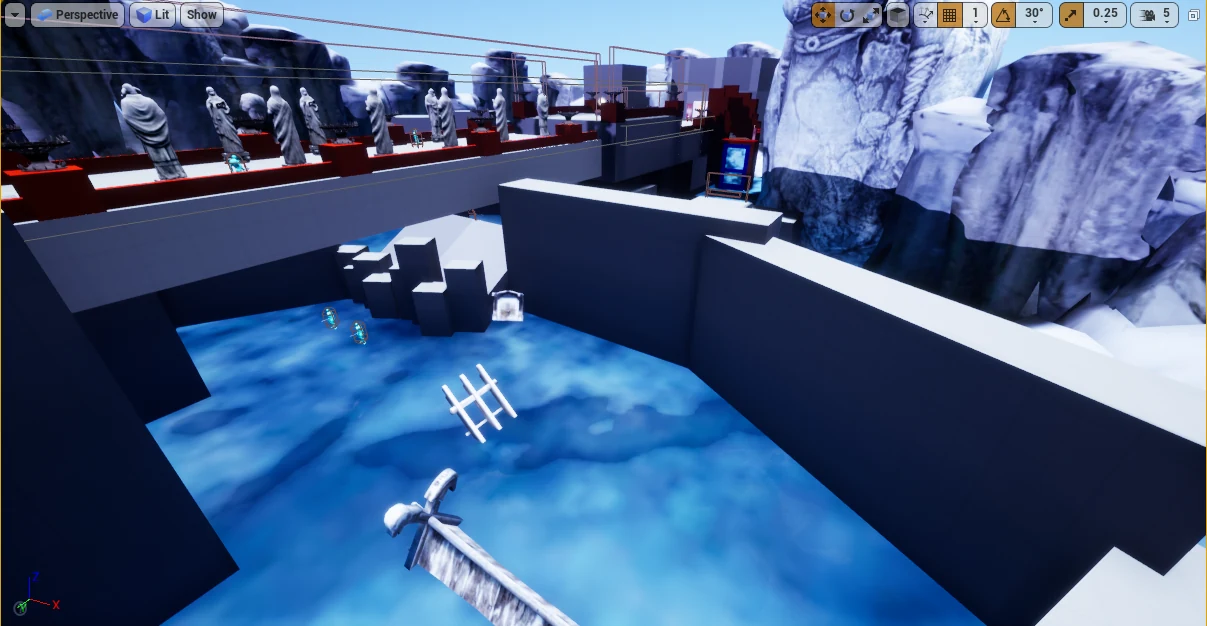
After Reworked the lighting to darken shadows and reduce overly bright highlights.
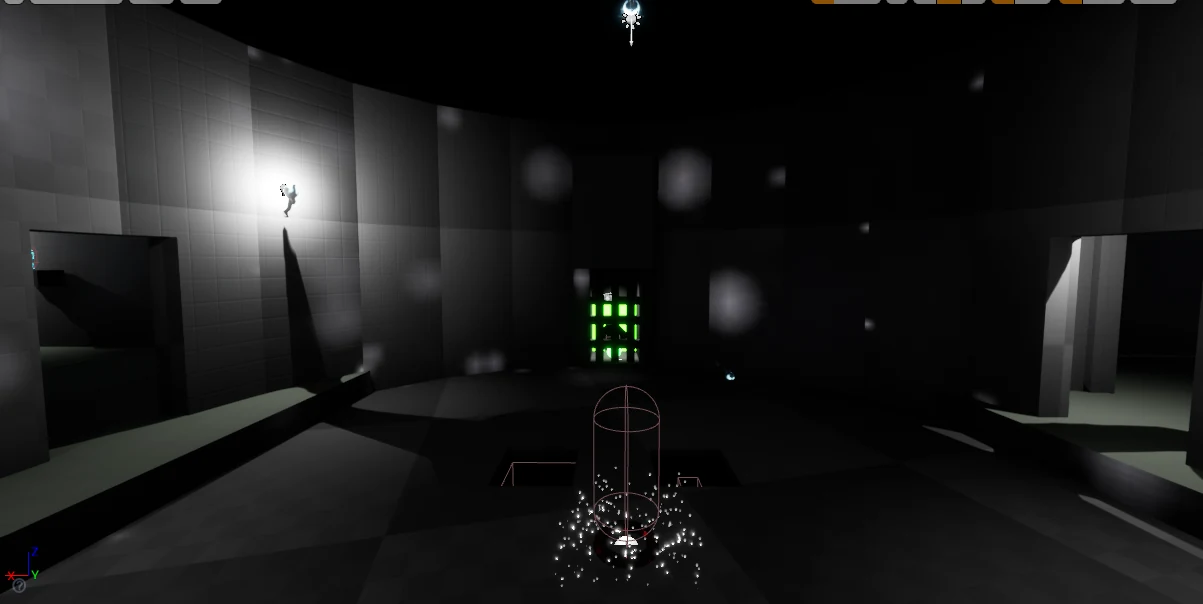
Before The temple interior was too dark for players to see their target clearly.
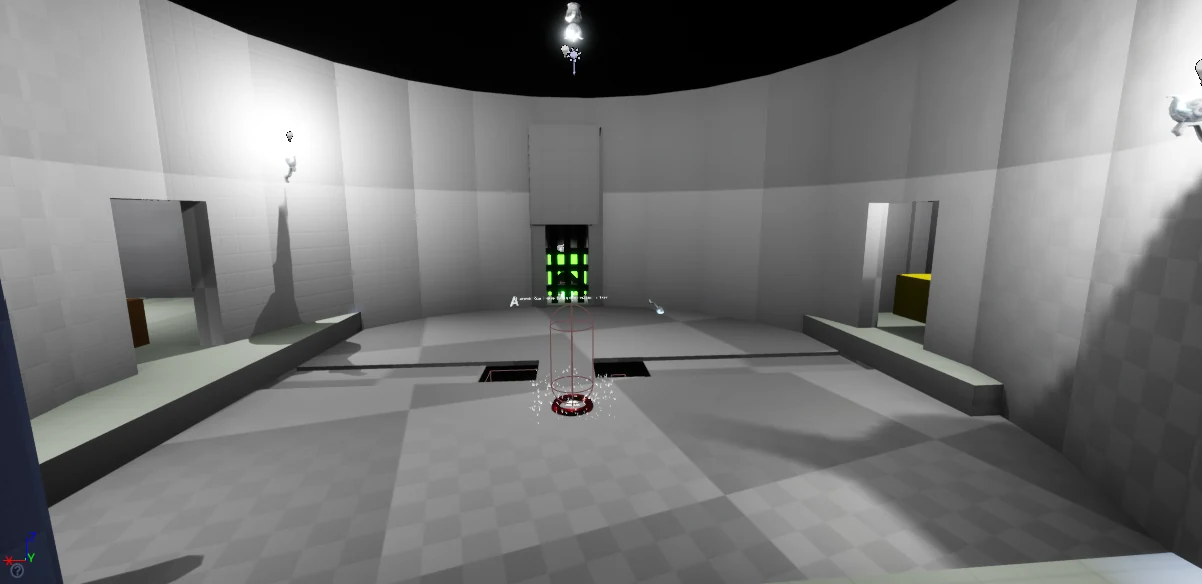
After Added lights to make the room and its objectives visible.
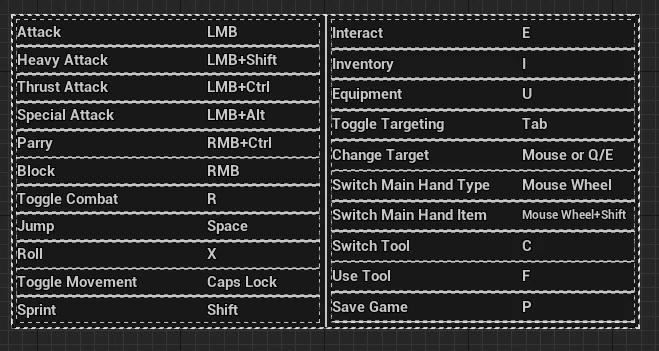
Before The keybinding interface was cluttered. Players spent too long searching for individual actions.
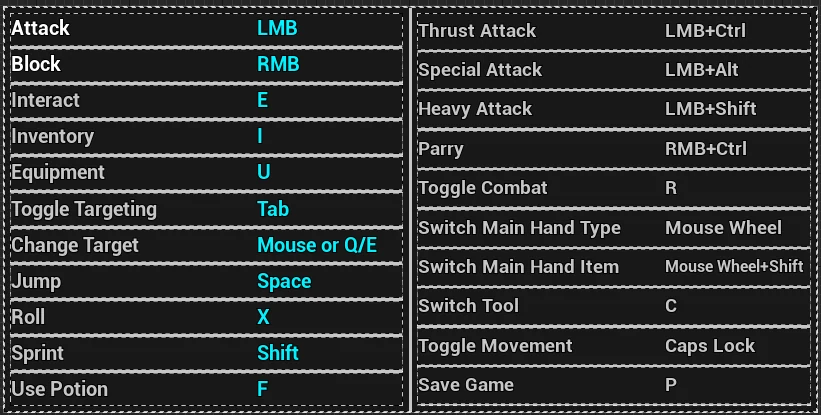
After Highlighted the important controls on the right and grouped less important controls by action type on the left.
The changes above are documented in the original portfolio. The archived page does not report a separate follow-up playtest or measured improvement.